Belum Caves photography: managing humidity and lighting
Belum Caves photography is decided before the first frame is taken. The transition from the dry, sunlit plateau into the underground passages brings two problems at once: warm, humid air meeting…
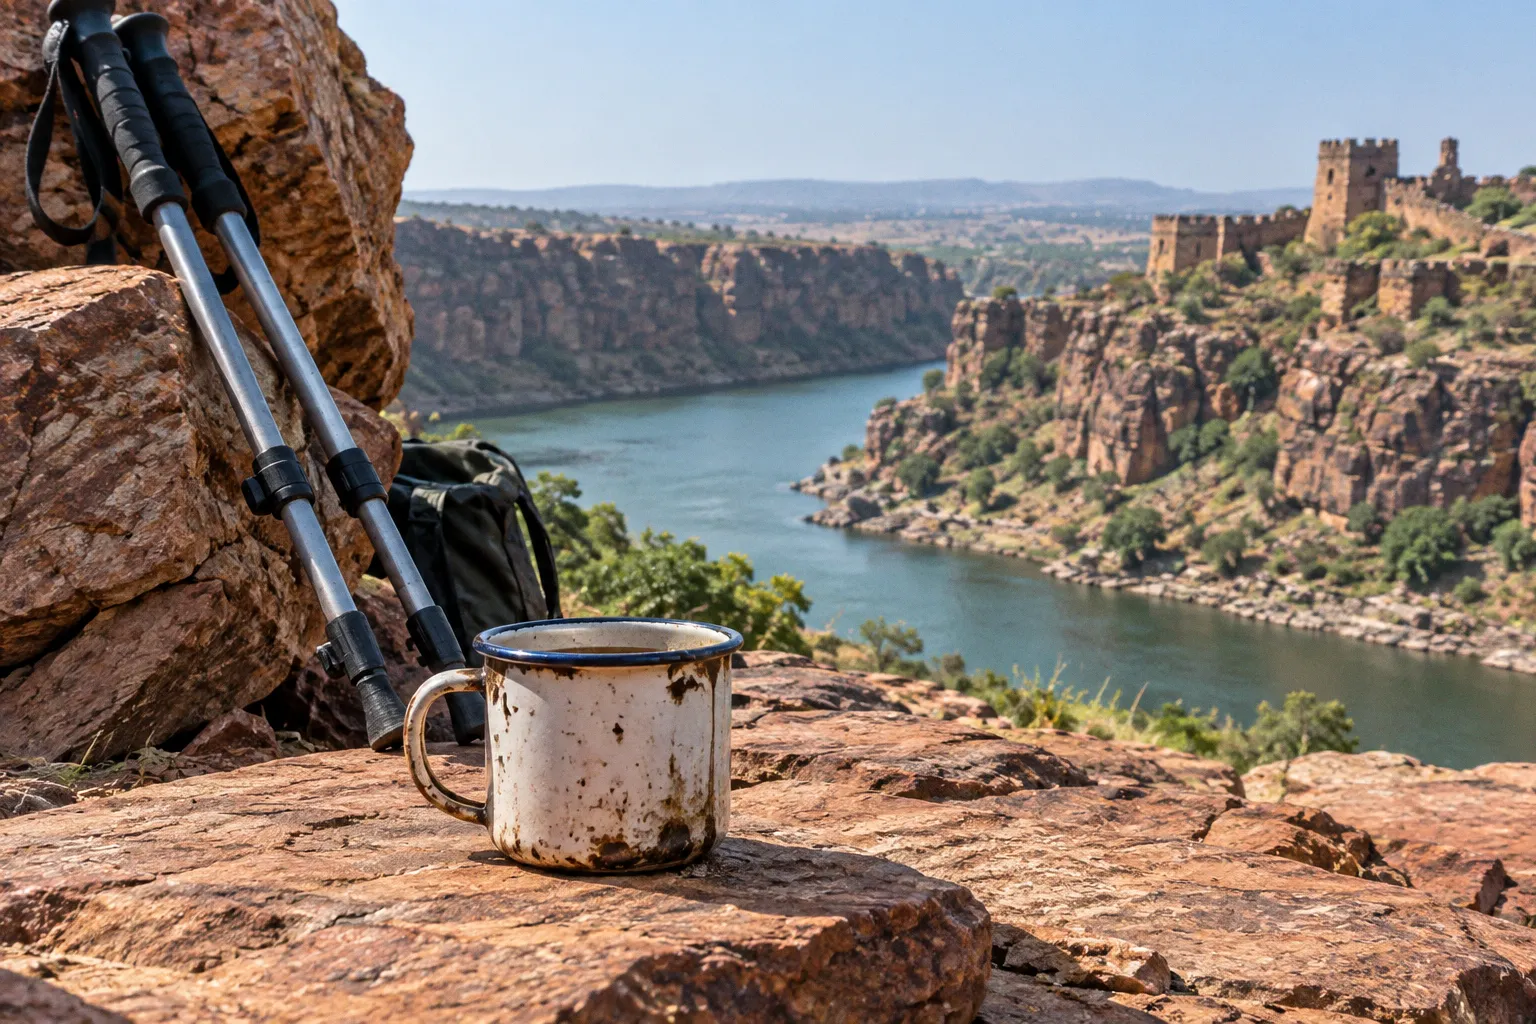
Belum Caves photography is decided before the first frame is taken. The transition from the dry, sunlit plateau into the underground passages brings two problems at once: warm, humid air meeting cooler equipment, and a cave illuminated by fixed artificial lights rather than clean daylight. The lens may fog, autofocus may hesitate, and the colour of the limestone can shift toward a heavy amber cast within seconds.
The solution is rarely a more expensive camera. It is a better understanding of the cave’s interior climate, the dew point, the available light, and the limits of hand-held shooting. Belum is a difficult place to photograph precisely because it can look brighter to the eye than it appears to the camera. Human vision adapts quickly to the dim passages. A sensor does not.
Belum Caves, the extensive limestone system in Andhra Pradesh, is photographically deceptive from the approach onward. The surface around the entrance can feel hot, dry, and dusty, while the passages below are cooler, close, and humid. That contrast is hard on unprepared equipment and even harder on automatic camera settings. With a little preparation, however, the same conditions that produce fogged lenses and orange shadows can also produce atmospheric images with real depth.
The Challenge of Subterranean Humidity: Protecting Your Gear
The first thing to understand about the humidity at Belum is that it affects both the equipment and the photographer’s perception of the space. After walking across the exposed plateau, visitors often experience the cave as dramatically cool. The temperature does change, but the sensation is also shaped by evaporation: once you are underground, sweat no longer disappears from the skin as quickly, and the air feels heavier.
For camera equipment, the more important issue is the combination of moisture and changing temperatures. Relative humidity can be high in underground passages, especially where air movement is limited and water remains in the rock. Moisture settles on skin, spectacles, straps, and exposed metal surfaces. It can also enter the small gaps around buttons, battery doors, and lens mounts if the equipment is repeatedly exposed and then packed away while still damp.
A lens does not fog simply because a cave is humid. Fog forms when the surface of the glass is colder than the dew point of the surrounding air. The dew point is the temperature at which the air can no longer hold all its moisture. In a warm, humid environment, that point is relatively high, so a cooler lens can quickly become a surface for condensation. This is why a camera brought straight from an air-conditioned car or a cooler bag may fog as soon as it meets the cave air.
The reverse transition creates the same risk. A camera that has spent time in the cooler underground passages may meet warm, humid air at the entrance or hot air on the surface. If the glass is still below the surrounding air’s dew point, condensation can appear again. The visible fog may be temporary, but repeated moisture exposure is not something to treat casually. Dampness can remain around contacts, seams, and the interior of a camera bag long after the lens looks clear.
Protecting camera gear from cave moisture begins with simple handling rather than specialised equipment:
- Keep the camera covered when you are not actively composing a photograph.
- Carry a clean, dry microfibre cloth in an accessible pocket, not buried at the bottom of the bag.
- Use a dry plastic bag or rain cover as a temporary barrier during temperature changes.
- Store spare batteries and memory cards in sealed pouches.
- Avoid changing lenses in the most humid or dusty parts of the route.
- Do not put visibly damp equipment straight into a tightly closed hard case.
- Keep silica gel packets in the camera bag, but do not treat them as a substitute for acclimatization.
The camera bag itself matters more than many visitors expect. A heavily padded bag can trap moisture after the visit, especially if it is closed while the body, strap, and cloths are still damp. A bag that can be opened for ventilation once you are back in a clean, shaded place is often more useful than an overbuilt case that seals everything inside.
The cave’s depth and layout add another complication. Conditions near the entrance are influenced by outside air and changing visitor movement. Deeper chambers tend to feel more enclosed, with less direct daylight and a stronger sense of humidity. The equipment you carry downward is not operating in one stable climate; it is moving through a series of small transitions.
Belum’s moisture problem is not a reason to leave the camera behind. It is a reason to slow down the transition between one climate and the next.
Acclimatization Strategies to Prevent Lens Condensation
The most dependable way to reduce condensation is to acclimatize the camera while it remains sealed. Place the camera body and the lens you intend to use inside a clean, dry zip-seal bag before entering the cave. A larger bag is preferable to one that forces the equipment against the plastic. If you have silica gel available, place a small sachet in the bag, keeping it separate from the camera and lens surfaces.
Seal the bag before crossing into the cave and leave it closed while the equipment adjusts. The exact waiting time will depend on the starting temperature, the weather, and the conditions at the entrance, so treat any fixed interval as a guide rather than a guarantee. The important point is that the camera should not be opened immediately at the threshold. Give the body and glass time to move closer to the temperature of the surrounding environment while the humid air is kept away from them.
This works because the sealed bag creates a buffer. It does not remove moisture from the cave, and it does not make condensation impossible. It reduces the speed and severity of the change between cold equipment and warm, humid air. Once the lens has acclimatized, opening the bag is much less likely to produce an instant bloom of condensation.
The same method should be used when leaving. Before returning from the cooler passages into the warmer entrance area, seal the camera again. Keep it enclosed until you reach a shaded, relatively clean place away from the immediate rush of surface air. Opening the bag beside the vehicle is usually more sensible than opening it at the cave mouth, where the contrast between the underground and outdoor conditions may still be strong.
This is more reliable than wrapping the camera in a shirt or towel. Fabric can slow the transition slightly, but it is not an effective vapour barrier and may already contain perspiration, dust, or moisture. If you have no plastic bag, keep the camera inside its closed camera bag and avoid exposing the lens until it has had time to adjust. It is not as controlled as sealed-bag acclimatization, but it is better than carrying cold glass openly into warm, humid air.
A practical sequence looks like this:
1. Before the descent, select the lens you are most likely to use. Reducing lens changes limits the amount of humid air entering around the mount and keeps dust out of the camera.
2. Place the camera and lens in a clean sealed bag. Remove excess air without pressing the bag against delicate controls.
3. Keep the bag closed during the first part of the descent. Do not open it merely because the cave looks photographically interesting.
4. Check for condensation before opening. If the outside of the equipment or the inside of the bag is visibly wet, wait longer and keep the camera enclosed.
5. Repeat the process before exiting. Seal the gear while you are still underground or before crossing back into the warmer entrance area.
6. Ventilate only after reaching a dry, shaded location. Wipe the exterior first, then open the bag and allow the equipment to settle.
Condensation is most obvious on the front element, but it is not limited to the front element. A rear element, viewfinder, filter, or screen can also fog. Do not wipe aggressively while the glass is covered in moisture. Use a clean microfibre cloth with light pressure, and avoid repeatedly rubbing grit across the coating. If fogging keeps returning, the camera has not fully acclimatized; the answer is more waiting, not more wiping.
Navigating the Yellow Glow: Lighting and Exposure Techniques
Once the moisture is under control, the cave’s lighting becomes the dominant problem. Artificial lights along the public passages give Belum a warm, yellow cast. The colour is not necessarily uniform from one area to another, and the light may mix with cooler daylight near openings or entrance sections. The result is difficult for automatic white balance because the camera is asked to interpret a scene lit by several different visual cues at once.
The eye adapts quickly. A wall illuminated by a yellow lamp can begin to look neutral after a few moments, while the camera records the colour more literally. Pale limestone may turn cream, yellow, or orange. White clothing can take on a warm tint. Areas of iron staining or naturally reddish rock may become more saturated than they appeared in person. A photograph can therefore look much warmer than the memory of the cave.
For the best camera settings for Belum Caves, begin by deciding whether you want a neutral documentary colour or an image that preserves the atmosphere of the underground lighting. These are not always the same thing. A fully corrected white balance can make the limestone easier to read, but it may also remove some of the visual character of the passage. A warmer balance can communicate the experience more honestly, even if it is less technically neutral.
If the camera offers a custom white-balance setting, make a sample in the area where you plan to work. A grey card is the most controlled option, but a neutral white or grey surface can also provide a useful reference. Hold it under the dominant light rather than near a different-coloured lamp or in a patch of daylight. Lock the setting for a sequence of images instead of allowing the camera to make a new decision for every frame.
The incandescent or tungsten preset is often a reasonable starting point, but it should not be treated as a perfect correction. The lights in a cave are not necessarily identical, and their colour can change across the passage. If you photograph in RAW, you retain more flexibility in post-processing. Even then, a deliberate in-camera setting helps you judge exposure and colour on the rear screen rather than trying to interpret a strongly orange preview.
Exposure is more difficult than colour. Dark cave walls occupy much of the frame, while small lamps or bright patches of wet limestone can pull the meter in the opposite direction. Matrix or evaluative metering may produce a workable starting point, but check the histogram when possible. A slightly underexposed RAW file may be recoverable; a bright lamp or pale formation with clipped highlights is not.
Several habits help in the uneven lighting:
- Use exposure compensation when the camera is consistently making the cave too bright or too dark.
- Watch the highlights on pale limestone and reflective wet surfaces.
- Avoid judging exposure from the rear screen alone, since the screen brightness can mislead you underground.
- Make a short test sequence at one viewpoint rather than changing settings after every frame.
- If the scene contains a bright lamp, recompose briefly without it to understand how much it is influencing the meter.
- Preserve shadow detail when the darker passages are part of the composition, but do not lift every shadow until the image loses its sense of depth.
The flash deserves particular caution. On-camera flash is close to the lens axis, so it tends to illuminate suspended moisture and dust directly in front of the camera. It can also create a hard foreground and leave the chamber behind it dark. Damp walls reflect the burst unevenly, producing bright patches and a flattened sense of distance. The result is often less atmospheric than the available light.
In a humid cave, a flash can make the air visible before it makes the subject visible.
There are situations where additional light can be useful, but it should be approached with restraint and with respect for site rules and other visitors. A light placed away from the camera axis gives more shape to a formation than a small pop-up flash pointed straight ahead. A continuous LED can help with focusing or with a carefully controlled detail, but a bright beam may interfere with other people’s experience and can produce a look that no longer represents the cave as visitors encounter it.
For most travel photography, the more convincing approach is to work with the installed lighting. Correct the colour gradually, protect the highlights, and let the darker areas remain dark enough to suggest the scale of the chambers.
Stability and Depth: Mastering Low-Light Cave Compositions
Belum’s interior climate affects more than the camera’s physical safety. Humidity, dim lighting, and visitor movement combine to make sharp photographs difficult. In the deeper passages, shutter speeds can become slow enough that breathing, hand movement, or a slight shift of weight softens the entire frame.
A tripod can help, but it should not be treated as automatically permitted or automatically practical in every part of the cave. Site access rules and the conditions of the route can change, and a large tripod may obstruct a narrow passage or interfere with other visitors. Check current instructions at the entrance before setting up any tripod or additional equipment. Do not assume that compact size alone guarantees permission.
Even where a tripod is acceptable, the best position may not be the middle of the path. Keep the legs close, avoid blocking the route, and be prepared to fold the tripod immediately when a group approaches. A small travel tripod or compact support is easier to manage than a full studio-style setup, but it still needs space and attention. In crowded areas, a brief hand-held exposure from a stable position may be more responsible than a long setup.
If a tripod is unavailable or unsuitable, use the cave’s fixed structures carefully. A handrail, a stable ledge, or a dry section of rock can support the camera for a slower exposure. Do not place equipment on a wet or unstable surface, and avoid leaning on formations that visitors are not meant to touch. Stabilization is useful only when it does not create a safety or conservation problem.
Image stabilization can help with camera movement, but it cannot freeze people walking through the frame. It also cannot correct movement caused by pressing the shutter or by changing focal length while composing. Use a timer or remote release when the camera is supported. If the camera is hand-held, tuck the elbows in, support the lens with the other hand, and take several frames in succession. One may be sharper than the others simply because the body was momentarily still.
Composition becomes more important as the light decreases. A cave photograph needs a clear sense of scale, but it does not always need a person standing in the centre of the frame. A visitor near the edge can show the size of a chamber without becoming the entire subject. If people are moving through the route, wait for a position that gives the figure a useful relationship with the rock rather than trying to remove every trace of human presence.
Look for layers:
- A nearby wall or formation to establish texture.
- A middle-distance passage to lead the eye.
- A darker opening or distant chamber to create depth.
- A person, light, or bright patch of limestone to provide scale.
- A line in the walkway or handrail to guide the composition without dominating it.
The warm lights can help separate these layers. A lit formation in the foreground may contrast with a cooler or darker passage behind it. Instead of correcting every yellow tone away, decide which parts of the colour are carrying the atmosphere. Neutralise skin and clothing when they look unnatural, but allow the cave itself to retain some warmth if that is what the lighting is doing.
Aperture choices require a balance between brightness and depth of field. Opening the lens allows more light in, but it may leave a foreground formation or a distant wall soft. Stopping down increases depth of field but demands a slower shutter speed or higher ISO. There is no universal setting for every chamber. The correct choice depends on whether the photograph is a wide environmental view, a formation detail, or a frame that includes people moving through the passage.
Optimizing Camera Settings for Deep Underground Passages
The settings below are starting points, not promises. They should be adjusted for the lens, the camera sensor, the brightness of the individual passage, and the amount of movement in the scene. A modern camera can tolerate more ISO than an older one, while a wide lens can often be hand-held at a slower shutter speed than a telephoto lens.
| Shooting Situation | Aperture Starting Point | ISO Approach | Shutter-Speed Approach | Main Priority |
|---|---|---|---|---|
| Entrance with mixed daylight and artificial light | Mid-range aperture | Keep ISO low if the light allows | Use a hand-held speed when people must remain sharp | Balance cool daylight with warm lamps |
| Main public passages | Moderately open aperture | Raise ISO gradually rather than underexposing heavily | Watch for camera shake and visitor movement | Preserve texture in the limestone |
| Darker chambers and narrow routes | Open aperture if depth of field permits | Accept a higher ISO when necessary | Support the camera whenever possible | Keep the frame sharp without blocking the path |
| Formation detail or static architectural view | Choose aperture for the required depth | Use the lowest practical ISO | Use support and a timer if allowed | Maximize detail and control highlights |
| Scene with moving visitors | Adjust for the people, not only the walls | Increase ISO if needed | Use a faster shutter than for an empty chamber | Avoid accidental blur in the scale figure |
For a wide underground view, start with the aperture in the middle of its range and make a test exposure. If the shutter speed is too slow for hand-holding, open the aperture before immediately pushing the ISO to its highest setting. If the foreground and background are both important, support the camera instead of relying on a very wide aperture that leaves one part of the composition soft.
A practical hand-held limit depends on the camera, focal length, stabilization, and the photographer’s technique. A wide lens may remain usable at a slower speed than a normal or telephoto lens, but the subject still matters. A motionless rock wall can survive a slower exposure; a person walking through the frame cannot. Do not choose shutter speed from a rule alone. Choose it from the movement you need to freeze.
Manual exposure is useful when the cave lighting is stable and the frame contains large dark areas. It prevents the meter from changing its mind every time a bright lamp enters or leaves the composition. Aperture priority can be more convenient for moving between chambers, especially if the camera is set to a minimum shutter speed or auto ISO with a sensible upper limit. Whatever mode you use, check the first few frames after a major change in lighting.
Focus can also become unreliable. Autofocus may hunt in dark passages or lock onto a nearby rail instead of the formation you intended to photograph. Use a single focus point where possible, place it on a clear edge with contrast, and recompose carefully. Manual focus can be more consistent for a supported wide shot, but confirm it at the actual working aperture and focal distance. Do not assume that setting the focus to infinity will keep every part of a large cave scene sharp; foreground rock may still fall outside the depth of field.
The best camera settings for Belum Caves are therefore not a fixed recipe. They are a controlled response to four variables:
1. How much light is reaching the subject.
2. Whether the camera is supported.
3. Whether people or other elements are moving.
4. How much depth of field the composition requires.
If the photograph is too dark, first decide whether the problem is insufficient light or an overly cautious shutter speed. If the frame is blurred, identify whether the camera moved, the subject moved, or focus missed. If the colour is wrong, decide whether the problem is white balance or mixed lighting. Solving the correct problem is more effective than changing every setting at once.
Reading the Cave Instead of Fighting It
The most successful photographs at Belum usually come from accepting that the cave will not behave like an outdoor landscape. There is no even daylight, no clean horizon, and no reliable automatic interpretation of colour. The space is built from gradual transitions: warm pools of light, black gaps, reflective damp stone, narrow passages, and formations that reveal their shape only from one angle.
Give your eyes time to adjust before making a series of photographs. Walk a little farther into a chamber, look for the strongest relationship between light and rock, and then decide whether the scene needs a neutral record or a moodier interpretation. Photographing immediately at every opening often produces a sequence of technically different but visually similar frames. Waiting changes the result.
Keep the equipment simple. One versatile lens, a sealed bag for acclimatization, a clean cloth, spare battery, and enough memory are more useful than a large collection of accessories that must be managed in a crowded underground route. Minimize lens changes. Keep the strap under control. Protect the camera when walking, and bring it out only when you already know what you want to photograph.
After the visit, continue treating the equipment as damp until it has fully dried. At the vehicle or another shaded location, keep the camera sealed until it has adjusted to the surface conditions. Then open the bag, inspect the lens and body, and wipe away surface moisture with a clean cloth. Leave the camera bag open for ventilation during the journey if the environment is clean and dry enough to do so. Do not seal wet cloths, damp straps, or a fogged lens inside a hard case.
Avoid using heat to force the process. A hair dryer, hot dashboard, or direct sunlight can create another abrupt temperature change and may damage adhesives, coatings, or batteries. Gentle ventilation and time are safer. If condensation has appeared inside the lens or behind a screen, stop shooting and allow the equipment to dry naturally in a controlled place rather than continuing to cycle it between cold and warm conditions.
Belum’s interior climate is part of its photographic identity. The humidity softens the air, the warm lamps colour the stone, and the limited light imposes a slower way of working. The goal is not to make the cave look like a brightly lit outdoor monument. It is to retain the sense of depth, enclosure, and uneven illumination that makes the underground experience distinctive.
Prepare the camera before the descent, acclimatize it inside a sealed bag, work deliberately with the yellow light, and support it whenever the scene demands more time than your hands can provide. Those choices matter more than chasing perfect settings. In Belum, the strongest image is usually the one made after the photographer has stopped fighting the conditions and started reading them.