Gandikota canyon trekking: beginner trails versus expert routes
Gandikota canyon trekking routes for beginners versus experts do not differ because one trail is “easy” and the other is “hard.” They differ in distance, exposure, route-finding, heat load, and how…
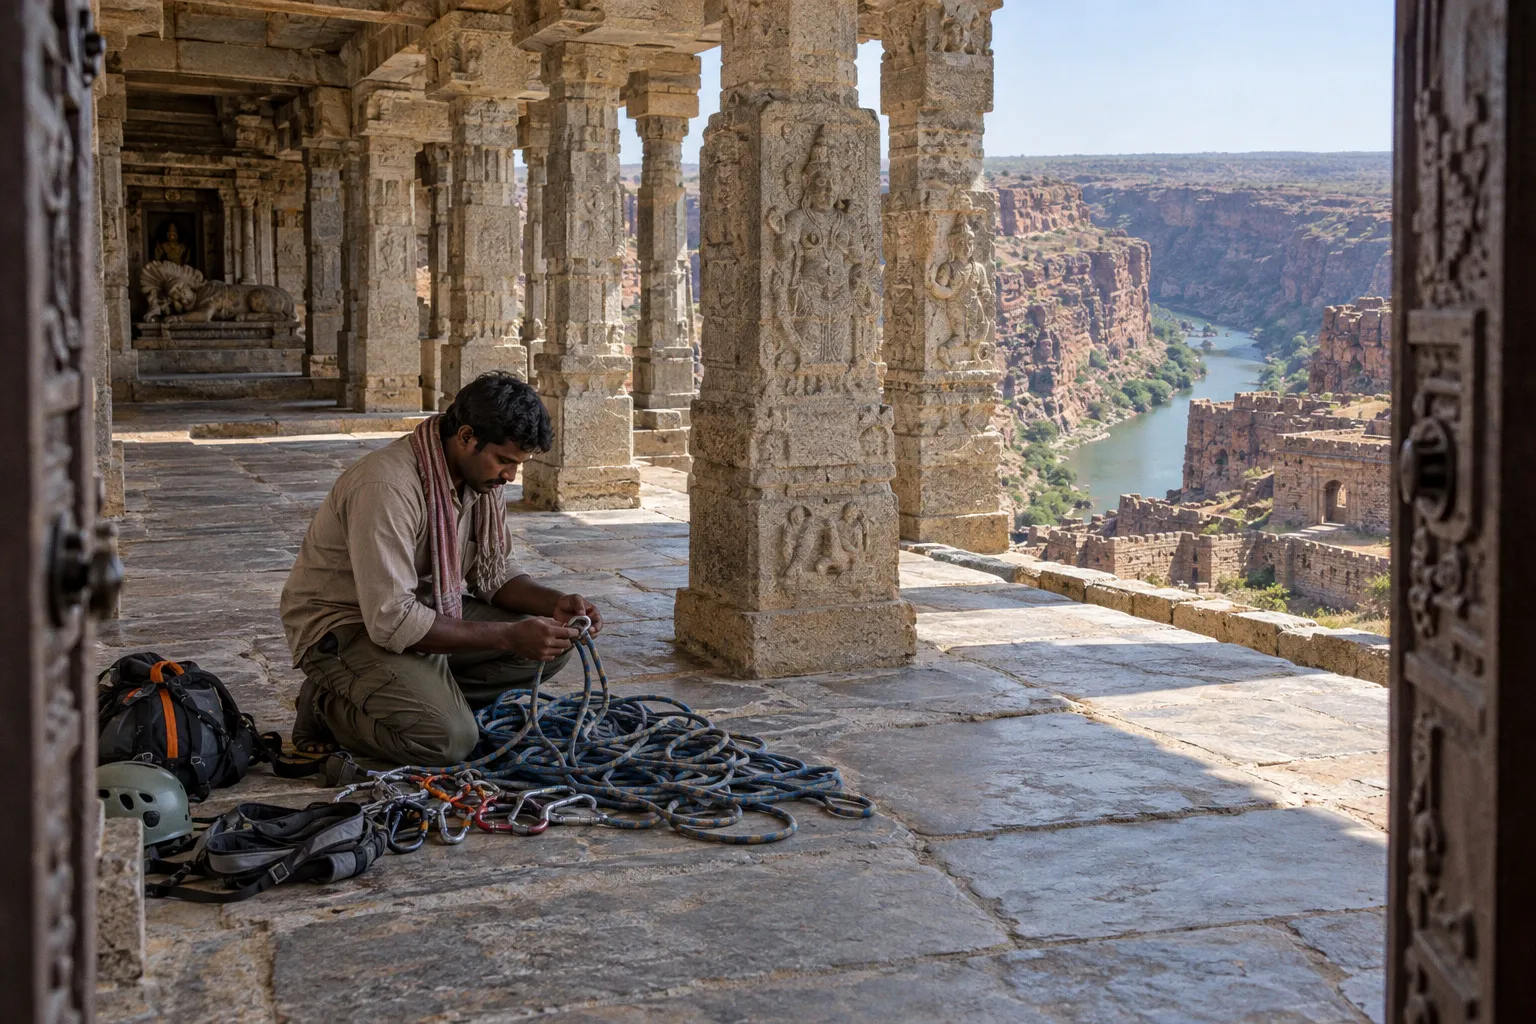
Gandikota canyon trekking routes for beginners versus experts do not differ because one trail is “easy” and the other is “hard.” They differ in distance, exposure, route-finding, heat load, and how much punishment your legs can absorb before you still need to climb back out.
The beginner line is short on paper: roughly 30 minutes from the canyon rim to the Pennar River bank. That does not make it flat, paved, or harmless. The final section turns into a boulder scramble where you use your hands for balance and support. Expert circuits stretch to 8–12 km, combine the fort, canyon rim, river access, and surrounding terrain, and demand better pacing, stronger navigation, and more disciplined safety decisions.
Gandikota Fort and the main Penna River canyon viewpoint are free to enter, with official visiting hours from 8:00 AM to 6:00 PM. The hard part begins when you leave the viewpoint and commit to the descent. The Pennar sits around 300 feet—approximately 100 meters—below the canyon rim, cutting through the Erramala hills beneath the granite formations and fort walls.
The river descent is short. The terrain is not forgiving. Treat the final boulder section like a real route, not a walk in the park.
Start with the route you can still finish
The safest way to compare Gandikota canyon hiking difficulty levels is to stop judging by distance alone. A short descent can demand more balance than a longer trail on stable ground. A full-day circuit can feel manageable in cool weather and become a bad decision when you run out of water, daylight, or traction.
Use three questions before you leave the rim:
1. Can you descend loose or uneven rock while keeping three points of contact?
2. Can you turn around before fatigue changes your footwork?
3. Can you complete the return climb with the same control you had on the way down?
If the answer to any of these is no, take the beginner river route only with a conservative turnaround plan, or stay on the rim and fort approaches. Do not let the short descent time trick you into carrying a route above your ability.
Route comparison at a glance
| Route type | Typical distance or duration | Main terrain | Skills demanded | Best approach |
|---|---|---|---|---|
| Canyon rim and fort exploration | Short walking segments within the site | Fort paths, viewpoints, exposed ground | Basic walking fitness, heat management | Suitable for most visitors; stay inside official visiting hours |
| Beginner river descent | About 30 minutes one way to the Pennar bank | Uneven descent, granite boulders, hand-supported scrambling | Balance, controlled foot placement, steady descent technique | Move slowly, protect the return, avoid rushing the final section |
| Extended gorge circuit | About 8–12 km | Fort ruins, rim, river access, rugged surrounding terrain | Endurance, navigation, route judgment, heat management | Start early, carry adequate water, use a guide if route knowledge is limited |
| Multi-activity day with kayaking or rappelling | Variable; depends on the independent operator and activity plan | Approach trails plus activity access points | Stronger logistics, technical briefing compliance, fatigue control | Confirm the operator, sequence, equipment, and return plan before committing |
This table is not a grading system. No official standardized difficulty scale or government route-marking system is established in the available trail information. Use it as a practical planning frame, not a substitute for conditions on the ground.
The 30-minute descent: the beginner line still requires technique
The standard descent from the canyon top to the Pennar River bank takes approximately 30 minutes. That estimate describes a moving route under reasonable conditions. It does not mean every visitor will reach the bottom in half an hour, and it does not include the effort required to climb back to the rim.
Start by checking your footwear. You need a firm sole and a secure heel. Loose sandals create problems as soon as the surface tilts, shifts, or forces you to plant sideways. Keep your hands free. If you need to carry a phone, bottle, or camera, use a small pack or secure the item before the boulders begin.
Then move through the descent in stages:
1. Establish your line before stepping
Do not stare at the person ahead and copy every foot placement. Their stride, balance, and body weight may be different from yours. Stop at each awkward section and identify the next two or three stable placements.
Look for:
- broad rock surfaces rather than sharp edges;
- dry contact points without loose gravel on top;
- places where you can lower your center of gravity;
- a clear retreat position if the next move feels wrong.
Test a questionable foothold with your toe before committing your weight. If the rock shifts, abandon it. Do not try to save a bad step with speed.
2. Use your hands before you need them
The final part of the route involves boulder scrambling and requires hand support. Put your palms on stable surfaces when the angle or rock size demands it. Keep your body close enough to the terrain to stay balanced, but do not press blindly onto unknown edges or gaps.
Descend facing the rock when the boulder arrangement becomes steep or awkward. Lower one foot, transfer weight, then move the second foot. Avoid long jumps between rocks. A jump may look faster, but it removes your ability to correct the landing.
Grip only solid rock. Loose blocks, thin flakes, and dirt-covered edges are not handholds. If you cannot confirm the hold, do not load it.
3. Protect the return climb
The river bank is not the finish line. It is the halfway decision point.
Before continuing down, look back uphill. Can you identify the route you will use on the return? Will the same boulder section feel manageable after heat, fatigue, and a full day outdoors? If your legs already feel unstable, stop descending. Turning around early is a route decision, not a failure.
This is where many inexperienced hikers make the wrong call. They treat the descent as the main event and postpone the return problem. The canyon does not care how confident you felt at the top. Once you reach the river level, every tired step points uphill.
Beyond the rim: what changes on an 8–12 km circuit
Extended Gandikota gorge trekking routes combine multiple environments instead of following one clean line. A full circuit may link fort exploration, canyon viewpoints, river access, and rugged terrain around the gorge. Typical distances range from 8 km to 12 km.
That distance changes the job. You are no longer managing one descent. You are managing a day of movement across exposed ground, uneven rock, and route transitions. The key skill becomes pacing.
Start slower than your adrenaline tells you to. Keep your stride compact on broken ground. Save power for the climb back from the river and for any technical approach connected to kayaking, climbing, or rappelling.
Experienced hikers should still divide the circuit into control points:
- Fort and rim section: confirm your group is together before leaving the main viewpoints.
- Descent section: reduce speed and focus on foot placement.
- River access: rest, inspect the return line, and reassess water and daylight.
- Activity approach: follow the operator’s access instructions rather than improvising a shortcut.
- Return climb: maintain a steady rhythm; do not burn your legs in the first steep section.
Do not use distance as proof that a route is suitable. A fit road runner may struggle on loose boulders. A climber may handle rock movement well but underestimate the heat across unshaded sandstone. A strong hiker may still make a poor decision when the group is mixed and the slowest person is pushed to match the fastest.
Route-finding without pretending the trail is obvious
The available information does not establish a standardized trail-marking system for Gandikota canyon routes. That matters. You cannot assume painted signs, fixed difficulty grades, or consistent wayfinding across every section.
If you trek independently, keep the route conservative. Identify the main return direction before dropping lower. Do not split the group at boulder fields. Do not follow a faint line simply because it appears to continue toward the river. A route that looks efficient on the way down may terminate at a steeper wall or unstable scramble.
Guided versus solo trekking in Gandikota depends on the route, not on a universal rule. The fort and main canyon viewpoints are straightforward for many visitors. A longer gorge circuit, river access route, or combined activity day requires more route judgment. If nobody in your group knows the terrain, a local guide or established outdoor operator can reduce navigation errors—but confirm exactly what the service includes. Government entry and independent adventure activity are separate arrangements.
Boulder scrambling: the difference between walking and climbing
Boulder scrambling is not technical rock climbing, but it demands climbing habits. Keep three points of contact when the terrain becomes awkward: two feet and one hand, or two hands and one foot. Shift your weight gradually. Keep your hips over your feet instead of leaning away from the slope.
Do not pull hard on a handhold before testing it. Do not step onto a rounded boulder covered with dust and expect your shoe to bite. Do not wedge a foot into a crack you cannot remove cleanly. Small injuries become serious when the route still requires a long return.
Use your body efficiently:
- Bend your knees instead of locking them on descents.
- Face the slope when lowering down a steep block.
- Keep your pack tight so it does not swing during a mantle or step-down.
- Place your feet quietly; a heavy stomp often means you have lost control.
- Let stronger hikers go first only when they can remain visible and communicate clearly.
- Give each person space around unstable rock.
The route does not become safer because you are moving quickly. Speed increases the cost of a mistake.
On Gandikota’s lower trail, your return route matters as much as your descent. Every move down spends part of your climb-out budget.
Heat and season: October to February gives you more margin
October through February is the recommended window for Gandikota trekking because temperatures are generally cooler and thermal exposure on unshaded sandstone is lower. That does not remove the heat problem. It gives you a better margin for movement and recovery.
The canyon contains exposed terrain. Rock reflects and stores heat, while the route can demand repeated effort across uneven surfaces. Treat the weather window as a safety advantage, not permission to ignore hydration or timing.
Plan the day around exposure:
- Begin early enough to avoid loading the longest movement period into the hottest part of the day.
- Carry water for the full route rather than assuming river access solves your supply problem.
- Take short, regular pauses before exhaustion arrives.
- Cover exposed skin and protect your head.
- Watch the slowest member of the group, not the strongest.
- Turn back while everyone still has enough control for the return.
Avoid building a serious canyon route around a late arrival. The fort complex and main viewpoint have official visiting hours from 8:00 AM to 6:00 PM, but those hours do not guarantee comfortable conditions for a long descent or extended circuit. Entry time, activity timing, river access, and return time are separate planning problems.
Kayaking, rappelling, and climbing: do not confuse access with inclusion
Kayaking on the Pennar River, rock climbing, and rappelling in the gorge are conducted by independent outdoor vendors. These activities are not included in standard government fort entry, and the fort’s free access does not create a bundled adventure package.
That distinction changes your logistics. If you are adding an activity to a Gandikota canyon hiking route, confirm the arrangement before you descend:
1. Who operates the activity?
2. Where does the activity begin?
3. How do you reach that point from the fort or canyon rim?
4. What equipment does the operator provide?
5. What physical requirements apply?
6. How does the activity schedule affect your return?
7. What happens if weather, water conditions, or route access changes?
Do not treat kayaking as a casual extension of the hike. Carrying gear, reaching the river, launching, paddling, and climbing back out create separate demands. Rappelling adds technical exposure and requires you to follow the operator’s commands exactly. Rock climbing requires competent supervision, proper equipment, and a route-specific briefing.
Keep the hiking group separate from the activity decision. A person capable of reaching the river may not be ready to rappel. A strong paddler may still be affected by heat and the approach terrain. If the operator gives a no-go instruction, accept it. Do not negotiate with a safety call because the group has already invested time in reaching the site.
Guided or solo: make the decision from your weakest point
Choose a solo or self-directed route when the group can manage the terrain, navigate conservatively, communicate clearly, and reverse direction without pressure. Keep the route close to the fort and rim if you lack canyon experience.
Choose a guide or established operator when:
- the group includes first-time scramblers;
- you plan an 8–12 km circuit;
- river access is central to the day;
- you are combining trekking with kayaking, climbing, or rappelling;
- nobody can confidently identify the return route;
- the group has mixed fitness or uneven experience;
- you are unsure how much time the terrain will consume.
A guide cannot cancel heat, loose rock, or fatigue. What a competent guide can provide is better route judgment, pacing, and local familiarity. Ask for a clear activity scope rather than assuming “guided trek” covers every section of the gorge.
Go or no-go: make the call before the terrain makes it
Use a hard go/no-go decision at the canyon rim and again at the river bank.
Go when:
- everyone has secure footwear and hands-free movement;
- the group can maintain controlled footing on uneven rock;
- you have enough water and daylight for the return;
- the weather supports the planned distance;
- the slowest participant can complete the route without being rushed;
- you know who is responsible for navigation or guiding;
- activity arrangements are confirmed separately from fort entry.
Stop or turn back when:
- footwear slips on dry rock;
- a person cannot descend without jumping or grabbing unstable holds;
- the group has separated in the boulder section;
- heat, dizziness, or cramping changes someone’s movement;
- the return route is unclear;
- the river access point requires a move beyond the group’s ability;
- an independent operator has not confirmed the activity details;
- you are relying on daylight or energy that you no longer have.
Do not wait for a dramatic incident. A shaky step, poor grip, or confused route decision is already useful information. Read it early and change the plan.
Gandikota canyon trekking works best when you match the route to the movement you can control. Beginners should start with the rim and the approximately 30-minute river descent, treating the boulder scramble and return climb as serious parts of the route. Experienced hikers can take on 8–12 km circuits, but only with disciplined pacing, route awareness, and enough reserve for the climb out.
The canyon rewards direct decisions. Pick the line. Check the rock. Keep your hands free. Protect the return. If the terrain, weather, or group condition fails the test, stay high or turn back. That is not missing the adventure. That is how you finish it.