Pennar River kayaking: safety markers and route navigation
Pennar River kayaking in Gandikota starts with a demanding approach, not a paddle stroke. From the fort-cliff area, expect roughly a 30-minute downhill hike over steep boulders, loose rock and thorny Acacia before you reach the river.
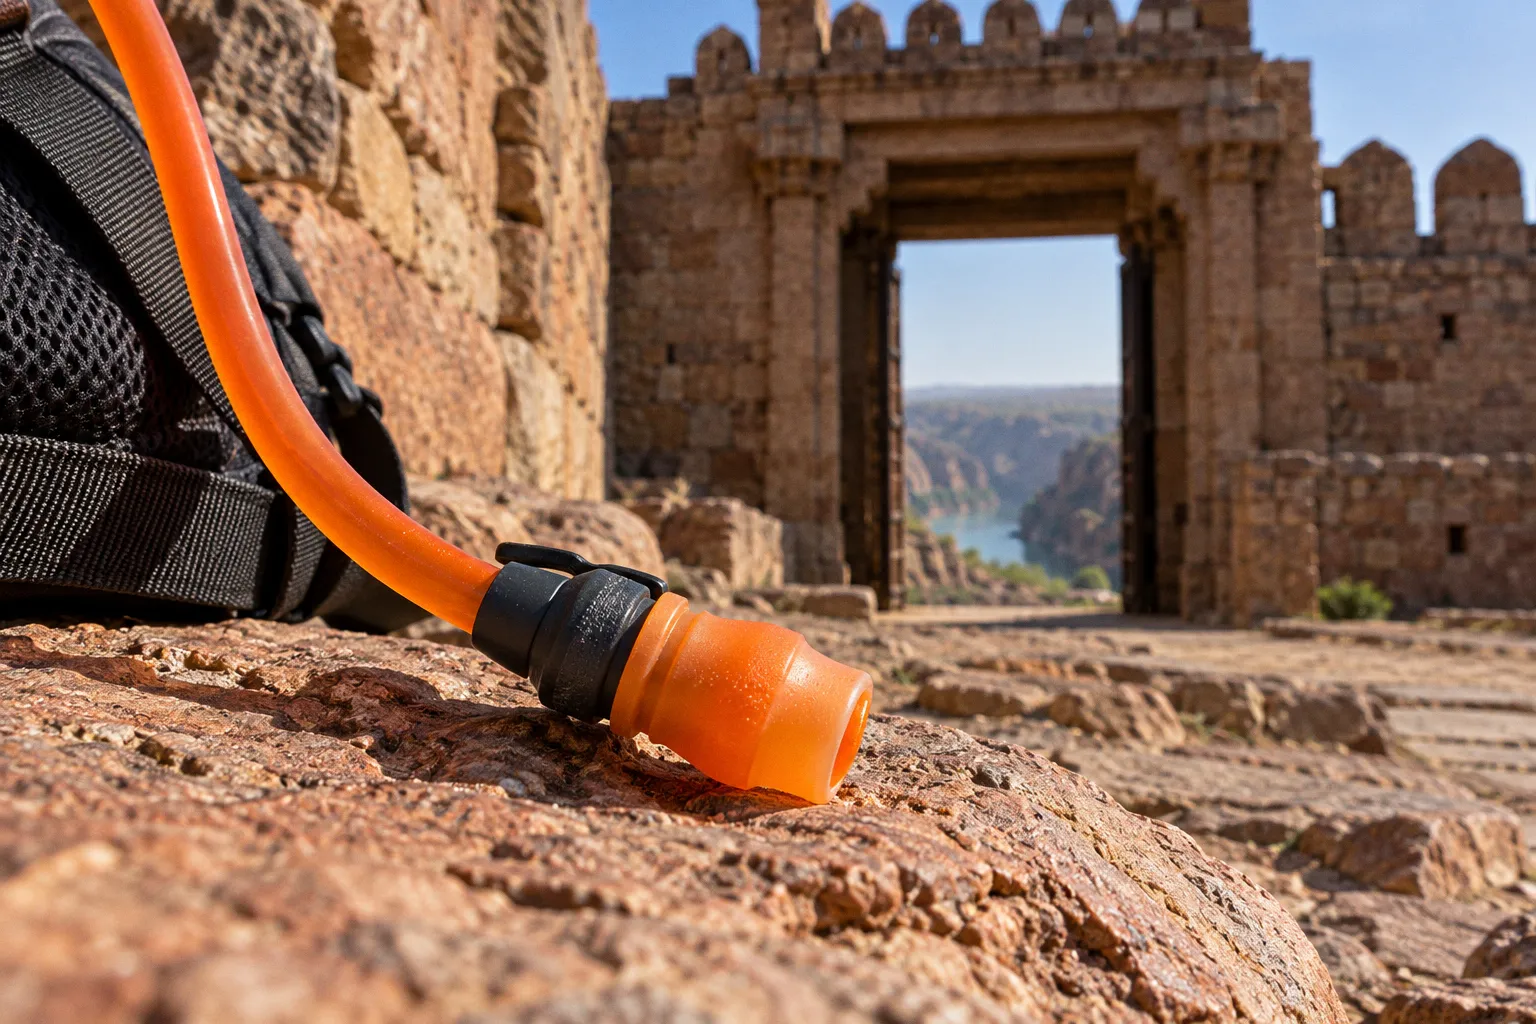
Pennar River Kayaking: Safety and Navigation in Gandikota
Carrying a kayak or scrambling down with a loose grip changes that approach from a walk into a real hazard.
Then the river presents a second problem: the gorge looks dramatic, but dramatic scenery is not a navigation system. The Pennar cuts between high rock walls, and dependable official route markers or published flow figures are not established here. For beginners, the safe plan is simple: check conditions with a local instructor, wear the right protection, and do not launch until you understand the day’s water and the return route.
The descent: reach the riverbank with control
Treat the approach as part of the kayaking route. The launch point sits below the fort area, and the descent is uneven: boulders shift, loose stones roll underfoot, and Acacia branches can snag skin, clothes or straps. A 30-minute estimate describes the hike, not its difficulty. Heat, footwear, load and the condition of the trail can all change the effort.
Before you start down, sort your load. Secure loose items, keep both hands available where the terrain calls for them, and avoid carrying anything that throws your balance off. If the kayak or other bulky gear is being moved separately, follow the local crew’s instructions rather than improvising a carry on steep ground. Do not rush to keep up with a group. One slip can injure you before you reach the water.
Move deliberately:
1. Check your footwear and load at the top. Use shoes that grip rock and stay secured to your feet. Stow anything likely to swing, snag or fall.
2. Pick each foothold before committing your weight. Test loose-looking rock with a light step. Keep space between hikers so a dislodged stone does not hit the person below.
3. Pause on stable ground if you need to adjust. Do not stop in the middle of a narrow or exposed section to repack, untangle straps or take a photo.
4. Keep thorny vegetation out of your line. Give Acacia branches room; pushing through while carrying a load can pull you off balance.
5. Save energy for the return. The descent is only one leg. Ask before launching how and when you will get back up, and whether the same route is used.
The river trip begins on the rocks above it. If you cannot descend under control, do not add a kayak to the problem.
The riverbank is not automatically a safe launch. Look for a place where you can set down gear without blocking the path, enter the water without scrambling across unstable rock, and get back out if conditions change. Let the instructor choose the launch point. Do not select a spot just because it appears closer or has a cleaner-looking edge.
Read the gorge and the water, not just the view
The Gandikota gorge has rock walls reaching about 300 feet, or 100 metres, and the river channel is around 100 metres wide. Those dimensions shape the experience, but they do not tell you whether a particular stretch is safe to paddle. A deep-looking canyon can still hold shallow water, submerged rock and changing current. The banks and cliffs can also make it harder to judge distance and maintain a clear view of the route ahead.
Water levels vary. During dry periods, depths in the kayaking zone can fall to around 4–5 feet; that is not a year-round measurement or a guarantee of depth at every point. Rainfall, dry spells and dam releases can affect conditions. There are no reliable figures here for current speed or discharge, so do not treat a visual estimate from the bank as a substitute for a local briefing.
Use this quick read before you launch:
| What you notice | What it means for your decision |
|---|---|
| Low water or exposed rock | Ask the instructor where the channel remains navigable. Shallow water can make a capsize or impact with the riverbed more consequential. |
| Water moving faster than expected | Stop and get a local assessment. Beginners should not enter unfamiliar current without an instructor’s approval and a clear plan. |
| Poor visibility of the route ahead | Do not paddle around a bend or toward a narrow section just to see what is there. Stay within the group’s agreed limits. |
| Conditions differ from the briefing | Hold at the bank and report the change. A plan made for one water level may not fit another. |
| You cannot identify a safe exit | Do not launch until the instructor points out where and how the group can get off the water. |
The canyon also changes the feel of the day. Steep granite walls can block direct sun and create cooler breezes at river level than on the rim. That relief can be welcome, but it does not remove the need to manage heat on the hike down or to carry water for the approach. Keep your drinking water accessible before you launch; do not assume you can safely reach for it while paddling.
For the best time to kayak the Pennar, avoid treating a season label as a safety forecast. Ask the operator about the current water level and the conditions on the exact day you plan to go. A dry-season depth estimate is useful context, not permission to paddle. After rain or a release, the river may behave differently from what a previous visitor describes.
Safety protocols: fit first, launch second
For beginners, the core Pennar River kayaking safety guidelines are not complicated. They are non-negotiable. Wear an approved, properly fitted Personal Flotation Device (PFD) continuously on the water, and wear a helmet for the water activity. A loose life jacket can ride up when you enter the water; a helmet that shifts can fail to protect your head. Ask the instructor to check the fit before you launch.
Do not accept “we are only going a short distance” as a reason to skip equipment. Distance does not control whether you capsize, strike rock or need help. Before moving off, confirm that you know how to signal the instructor, where to regroup, and what to do if you leave the kayak. If the briefing does not cover those basics, ask for it before you get in.
A useful pre-launch sequence:
- Fit your PFD and helmet. Fasten every closure and ask someone qualified to check the fit. Keep both on for the full water activity.
- Listen for the route and boundaries. Have the instructor identify the planned stretch, turnaround point, group order and any areas to avoid. Do not assume there are signs or buoy markers to guide you.
- Learn the stop signal and regroup plan. Know how the guide will get your attention and where the group will gather if it spreads out.
- Check your kayak and paddle. Confirm that the kayak is intact, the paddle suits your reach, and you know how to hold and use it. Tell the instructor if anything feels loose or damaged.
- Be honest about your ability. If you cannot swim confidently, have a medical concern, feel exhausted or are uncomfortable with the conditions, say so before launch. Do not conceal a problem to avoid slowing the group.
Once afloat, keep a controlled distance from other kayaks. Leave room to steer and avoid bumping boats in narrow water. Paddle where the instructor directs; do not cut across the group or drift toward a wall to get a closer look. Keep your attention on the water ahead, not only on the cliffs. If you lose the group, stop where the guide can see you if possible and use the agreed signal. Do not press on alone to catch up.
If the kayak tips, follow the instructor’s capsize procedure. Keep your PFD on, stay with the kayak unless the guide tells you otherwise, and do not try to stand in unfamiliar water without direction. A depth of 4–5 feet in some dry-season areas still does not mean every part of the river is shallow or safe to wade. Rocks, changing depth and current can make a seemingly simple recovery harder than it looks.
Navigation: why a local briefing beats a phone map
Search for kayaking routes in the Gandikota gorge and you may find broad descriptions of the river, dramatic photos and visitor accounts. Those can help you understand the setting. They cannot confirm today’s launch access, water level, flow, hazards or exit plan. A phone map is also a poor substitute for a river briefing: it may show the canyon without showing the safe line through a changing channel.
Do not expect standardized color-coded river markers, navigation buoys or physical route signs unless a local operator confirms they are present on the day. Their official presence along this stretch is not established. Build your navigation around the instructor’s directions instead. Ask them to point out the launch, the intended paddling limits, the turnaround point and the exit before you leave the bank.
Keep the briefing practical. You should be able to answer these questions before you launch:
- Where exactly does the group enter and leave the water?
- Which section are we paddling, and where is the turnaround?
- What current or water-level changes has the instructor observed today?
- How do we signal that we need help or need to stop?
- What should we do if we become separated from the group?
- Who makes the go/no-go call if conditions change?
If the answers are vague, slow the process down. Ask again. A guide who cannot explain the plan clearly has not given you enough information to navigate as a beginner. Do not take a kayak beyond the agreed route to explore a side channel, approach a cliff base or get a photograph. Gorge walls can restrict sightlines, and a paddler around a bend may be out of view before they are out of trouble.
Equipment and rental checks at Gandikota
Kayaking equipment rental in Gandikota may be arranged through local activity providers, but availability, equipment condition and trip format can vary. Do not assume a rental includes a guide, transport of the kayak down the slope, safety gear or a particular route. Confirm what is provided before you travel to the riverbank.
Inspect the equipment with the operator before accepting it. Look for cracks or obvious damage to the kayak, check that the paddle is intact, and make sure the PFD fits your body rather than simply being handed over. Ask whether the helmet is included and how the operator checks its fit. If something does not work or fit, speak up on shore. Do not plan to fix a bad fit once you are already afloat.
Get clear answers on the practical details:
- What is included? Confirm kayak, paddle, approved PFD, helmet, instructor and any transport or handling support.
- Who leads the group? Find out whether an instructor stays on the water with beginners and how they communicate during the paddle.
- What is the route today? Ask for the launch and exit points, the planned distance in plain terms, and the limits you must not cross.
- How is the return handled? The 30-minute downhill approach does not describe the uphill return. Confirm who carries what and how the group gets back to the rim.
- What happens if conditions are unsuitable? Ask whether the session can be delayed or cancelled rather than launched into water the instructor considers unsafe.
Do not let a rental booking make the decision for you. If the PFD is missing, the helmet is unavailable, the gear is damaged, or the operator cannot explain the route and emergency plan, do not launch. That is not being difficult. It is the point at which you keep a preventable equipment problem from becoming a river problem.
Make the go/no-go call before the water makes it for you
Go only when you can descend safely, the instructor has assessed the day’s conditions, the route and exits are clear, and your PFD and helmet fit. Keep within the guided plan, communicate early and turn back when conditions no longer match the briefing.
No-go if the approach feels beyond your control, the water is moving in a way the instructor cannot explain, you cannot identify where to exit, or the operator leaves basic safety questions unanswered. The Pennar gorge will still be there another day. A good paddle is not the one that pushes farthest; it is the one that ends with the whole group back on the bank and ready for the climb out.